To use a soundbar with your ultra short throw projector, first select a compatible soundbar that supports HDMI ARC or optical connections for superior audio quality. Connect the soundbar’s HDMI OUT to the projector’s HDMI IN or use an optical cable if preferred. Position the soundbar at ear level, centered with the screen for the best sound experience. Adjust audio settings as needed and troubleshoot connection issues for seamless integration. Explore various soundbar options to enhance your setup and create an immersive home theater experience.
Key Takeaways
- Ensure compatibility by connecting the soundbar to the projector using HDMI ARC or optical cables for optimal audio quality.
- Position the soundbar at ear level and center it with the projector screen to enhance your listening experience.
- Activate HDMI-CEC settings for seamless control of the soundbar’s volume through the projector remote, allowing for a more integrated audio experience.
- Utilize built-in subwoofers or connect external subwoofers to elevate sound performance and depth, making your home theater experience more immersive.
- Regularly check all connections and settings to prevent audio delay or distortion issues, ensuring that the soundbar delivers high-quality audio consistently.
Choosing the Right Soundbar for Your Ultra Short Throw Projector
When selecting a soundbar for your ultra short throw (UST) projector, it’s crucial to ensure compatibility with your audio ports.
Prioritize HDMI ARC or optical connections to achieve optimal audio quality. Look for a soundbar that supports Dolby Atmos, which enhances your experience with upward-firing speakers that synergize beautifully with your projector’s visuals.
Prioritize HDMI ARC or optical connections for superior audio, and seek soundbars with Dolby Atmos for immersive sound experiences.
Consider models with built-in subwoofers or the option for external subwoofers to elevate sound performance in compact setups. Additionally, assess the soundbar’s size and design for a seamless aesthetic integration with your UST projector.
Lastly, check for wireless connectivity options to reduce cable clutter and streamline your setup.
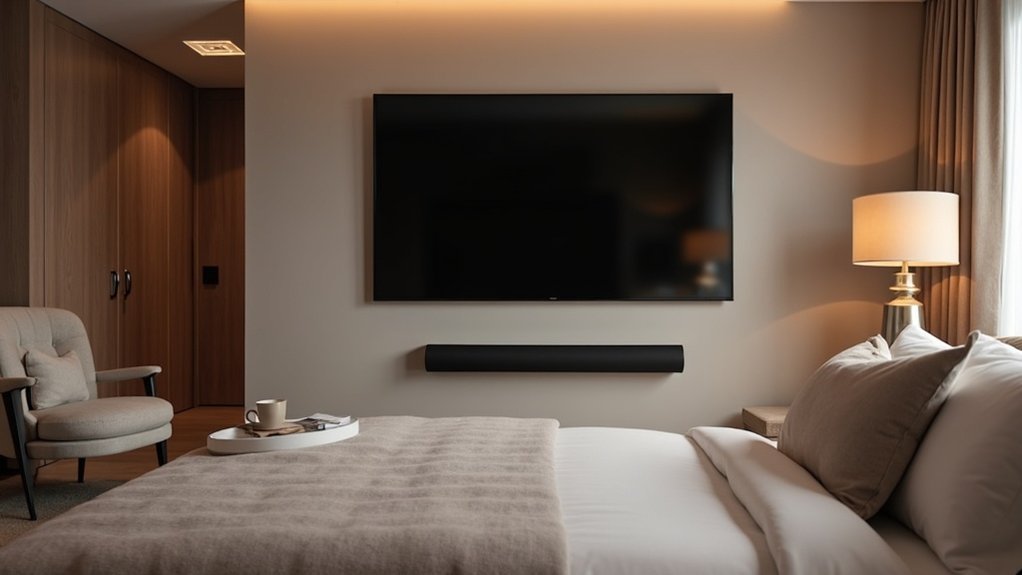
Optimal Soundbar Placement for Enhanced Audio
To achieve the best audio experience with your soundbar, it’s essential to place it at ear level and center it with the projector screen. This positioning enhances audio directionality and ensures optimal sound quality. Additionally, ensure that any up-firing speakers have a clear path, free from obstructions, to fully utilize their capabilities. Consider the room acoustics; flat-walled rooms typically enhance performance, while angled ceilings can diminish sound quality. Here’s a quick guide to optimal soundbar placement:
| Placement Type | Benefits | Considerations |
|---|---|---|
| Console | Easy access | Ensure it’s centered |
| Wall-mounted | Saves space | Maintain distance from the wall |
| Open area | Supports up-firing speakers | Avoid furniture obstructions |
| Flat ceilings | Enhances sound reflection | Position accordingly |
| Room layout | Maximizes immersive experience | Assess for ideal placement |
Connection Options for Soundbar and Projector
Connecting your soundbar to an ultra short throw projector is essential for achieving immersive audio-visual experiences.
You can use an HDMI cable for optimal audio and video quality, provided both devices have compatible HDMI ports. If HDMI isn’t available, consider using an optical connection, which delivers a reliable digital audio signal.
Using an HDMI cable ensures the best audio and video quality, or opt for an optical connection if HDMI isn’t available.
For older projectors lacking digital ports, RCA connections with color-coded cables can be utilized. While wireless options like Bluetooth offer convenience, they may introduce latency.
After establishing any connections, always verify the audio settings on your soundbar to ensure it recognizes the correct audio source for seamless playback.
How to Connect a Soundbar to Your Projector Using HDMI
To connect your soundbar to the projector using HDMI, start by identifying the HDMI OUT port on your source device and linking it to the soundbar’s HDMI IN.
Next, connect the soundbar’s HDMI OUT to the projector’s HDMI IN, ensuring optimal audio and video transmission.
If both the soundbar and projector support HDMI ARC or eARC, enable this feature for enhanced sound quality and simplified control across your devices.
HDMI Connection Process
Establishing a reliable HDMI connection between your soundbar and ultra short throw projector is essential for optimal audio performance.
Begin by connecting an HDMI cable from the HDMI OUT port of your source device to the HDMI IN port of the soundbar.
Next, use another HDMI cable to link the soundbar’s HDMI OUT (ARC) port to the projector’s HDMI ARC port.
To facilitate volume control through the projector remote, enable HDMI-CEC in the settings menu of both devices.
Power on all devices and select the appropriate HDMI input on the projector.
If you encounter any issues, verify the connections and audio output settings.
ARC Functionality Explained
The HDMI ARC (Audio Return Channel) feature enhances the audio connectivity between your soundbar and projector, elevating your overall viewing experience.
To set it up, ensure that both your soundbar and projector are equipped with HDMI ARC ports, and utilize a high-quality HDMI cable to achieve optimal audio quality.
Once connected, navigate to the settings on both devices to enable HDMI-CEC (Consumer Electronics Control). This feature allows you to adjust the soundbar volume using your projector remote, making it more convenient.
If your soundbar doesn’t configure automatically, you may need to manually select the HDMI ARC input.
For the best performance, check that your HDMI cable is compatible and consider updating the firmware on both the soundbar and projector for improved functionality.
Troubleshooting HDMI Issues
When connecting your soundbar to an ultra short throw projector via HDMI, you might encounter a few issues that disrupt audio performance.
Start by ensuring all HDMI connections are secure and that your soundbar is powered on and unmuted. If you’re using HDMI ARC, connect the soundbar to the projector’s HDMI ARC port for better control using the projector remote.
Check your soundbar settings to confirm the correct input source is selected. Finally, enable HDMI-CEC on both devices to enhance communication.
Addressing these points can help resolve common audio issues, allowing you to enjoy a seamless sound experience while watching your favorite content.
Connecting via Optical or SPDIF: A Step-by-Step Guide
To connect your soundbar to an ultra short throw projector using an optical or SPDIF connection, you’ll need a compatible optical cable and ensure that both the soundbar and projector have optical ports.
Begin by securely connecting the optical cable from the projector’s output to the soundbar’s input.
After making the connection, power on both devices and adjust the audio settings on your soundbar for optimal performance.
Enjoy an enhanced audio experience that complements your projection!
Required Equipment List
Connecting a soundbar to an ultra short throw projector via Optical or SPDIF requires specific equipment to guarantee compatibility and peak performance. Here’s what you need:
| Equipment | Purpose |
|---|---|
| Soundbar | Delivers high-quality audio |
| Projector | Displays video with Optical ports |
| Optical Cable | Connects soundbar and projector |
| Audio Settings | Adjusts output to prevent interference |
To ensure optimal audio performance, it’s essential that both the soundbar and projector have compatible Optical ports. After connecting the optical cable, power on both devices and adjust the audio settings to select the optical output. In case of any audio delay, utilize the soundbar’s audio delay feature for proper synchronization. This setup not only enhances your viewing experience but also maximizes the sound quality delivered by the soundbar.
Connection Process Steps
Establishing a connection between your soundbar and ultra short throw projector via Optical or SPDIF involves several straightforward steps.
First, locate the Optical ports on both devices and connect them using a high-quality optical cable. Ensure both the projector and soundbar are powered on; this usually allows for an automatic setup.
Next, navigate to the projector’s audio settings and set the audio output to the optical option.
After connecting, test the audio by playing content on the projector. If you don’t hear sound, check the cable connections and adjust the soundbar’s input settings to recognize the optical connection.
Enjoy enhanced audio from your soundbar while watching your favorite content!
Exploring Other Connection Methods: RCA and 3.5mm
While HDMI connections are often preferred for their superior audio quality, RCA and 3.5mm options provide viable alternatives for linking a soundbar to an ultra short throw projector, especially when dealing with older devices.
RCA cables, featuring color-coded red and white connectors, are ideal for audio output; just ensure that your projector’s settings direct sound through these outputs.
Alternatively, a 3.5mm auxiliary connection offers a straightforward stereo sound option.
Remember to adjust volume levels on both the soundbar and projector to achieve the best sound balance, as both methods typically support only stereo sound, lacking the immersive quality of digital connections.
If you’re exploring options for enhancing your audio experience with a soundbar, considering these connections can be beneficial, especially in setups involving older technology.
Troubleshooting Common Soundbar Connection Issues
When you encounter issues with your soundbar connection, it’s essential to methodically troubleshoot to restore ideal audio performance.
First, confirm all cables, particularly HDMI ARC or optical, are securely connected; loose connections can lead to poor sound quality.
Ensure all cables, especially HDMI ARC or optical, are firmly connected to avoid sound quality issues.
If there’s audio delay, check the soundbar’s delay feature to sync audio with your video source.
Verify that the correct input source is selected on the soundbar.
Additionally, ensure that any built-in speakers from your video source are turned off to avoid sound distortion.
Finally, if using HDMI ARC, enable the HDMI-CEC setting on both devices for seamless audio output.
Enhancing Your Home Theater Experience With Proper Setup
After addressing common soundbar connection issues, it’s time to focus on enhancing your soundbar experience within your home theater setup.
Position your soundbar within the ideal audio reflection zone to maximize immersion and audio quality. Use HDMI ARC for seamless integration, allowing you to control both the soundbar and your video source with one remote.
Ensure your soundbar supports advanced surround sound formats like Dolby Atmos to complement your high-fidelity audio needs. Adjust your soundbar’s settings to optimize for room acoustics, utilizing subwoofers and equalizers to enhance the overall audio experience.
Finally, consider the arrangement of your furniture to maintain clear sightlines, ensuring that the soundbar’s audio projection aligns with your viewing area for a more immersive experience.