To use a soundbar with your ceiling-mounted TV, begin by ensuring compatibility with audio output options such as HDMI ARC or optical connections. Position the soundbar directly beneath the TV for optimal sound alignment, ideally within 3.30 inches of the TV’s bottom edge. Connect the soundbar using your preferred method and fine-tune the audio settings on both devices to achieve a balanced output. Regularly check connections and make any necessary adjustments to enhance performance. Additionally, consider exploring various setups and equipment options to further elevate your audio experience with your soundbar.
Key Takeaways
- Connect the soundbar to the ceiling-mounted TV using HDMI ARC to ensure optimal audio quality and minimal lag.
- Position the soundbar directly beneath the TV, ideally within 3.30 inches of the bottom edge, for the best sound alignment.
- Make sure to configure the TV’s audio output settings to direct sound through the connected soundbar.
- Adjust the soundbar settings, including bass and treble, to enhance audio performance according to the room’s acoustics.
- Regularly check cable connections and update firmware to maintain optimal compatibility and sound quality.
Benefits of Using a Soundbar With a Ceiling Mounted TV
When you pair a soundbar with a ceiling-mounted TV, you significantly elevate your audio experience. Soundbars provide clearer and more immersive sound compared to the often underwhelming built-in speakers found in flat-screen TVs.
This combination not only enhances sound quality but also contributes to a visually appealing setup. Soundbars are designed to fit within specific weight limits, such as the 20 lbs (9.07 kg) threshold, ensuring they’re compatible with various ceiling-mounted systems.
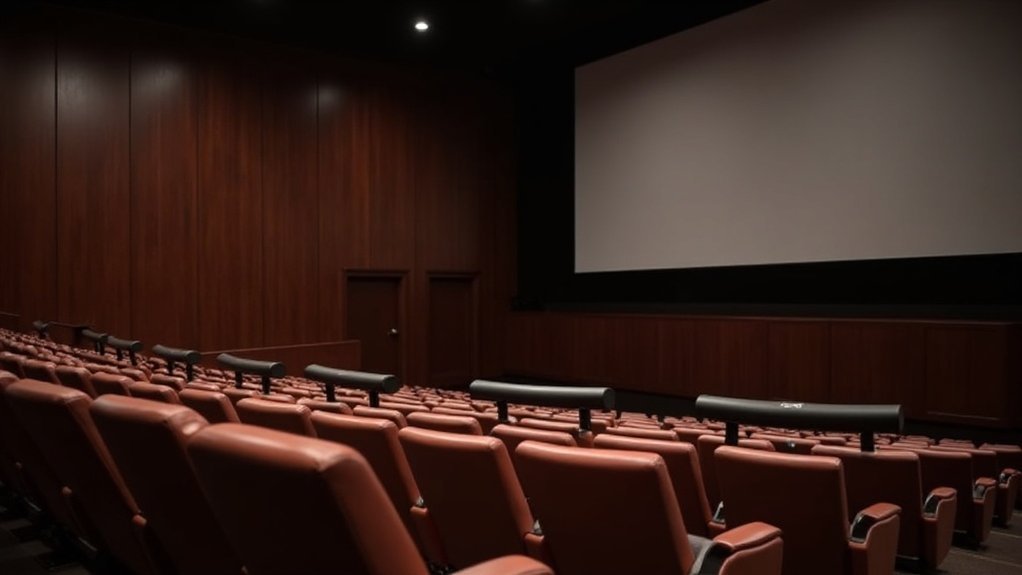
Additionally, their depth-adjustable positioning minimizes audio interference, providing optimal sound distribution in open areas. This makes them ideal for larger spaces where clear audio is crucial for social gatherings or enjoying cinematic experiences.
Compatibility Check: Soundbar and TV Connections
To guarantee a seamless audio experience, it’s crucial to verify that your soundbar is compatible with your ceiling-mounted TV’s audio output options.
Check for HDMI ARC/eARC, optical audio, or analog audio connections, as these are essential for integration. Confirm that your TV has the necessary outputs; many modern units may lack analog options.
Ensure your TV has HDMI ARC/eARC, optical audio, or analog connections for optimal soundbar integration.
If your soundbar requires an analog input and your TV only has a digital output, consider using a digital-to-analog converter (DAC).
Prioritize connectivity methods like HDMI ARC, which minimizes audio lag and syncs better with video, ensuring that your soundbar delivers a superior listening experience.
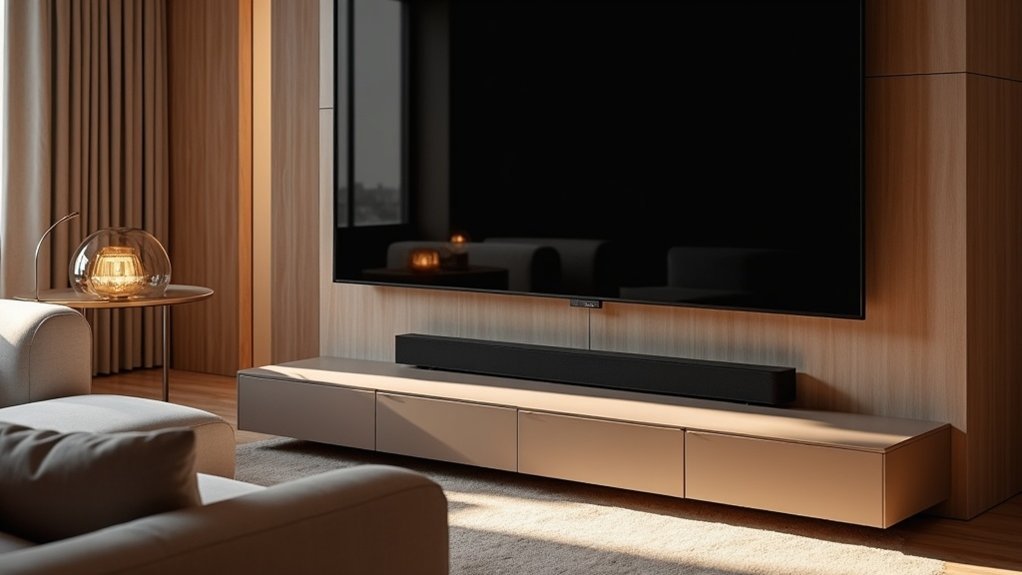
Optimal Soundbar Placement for Enhanced Audio
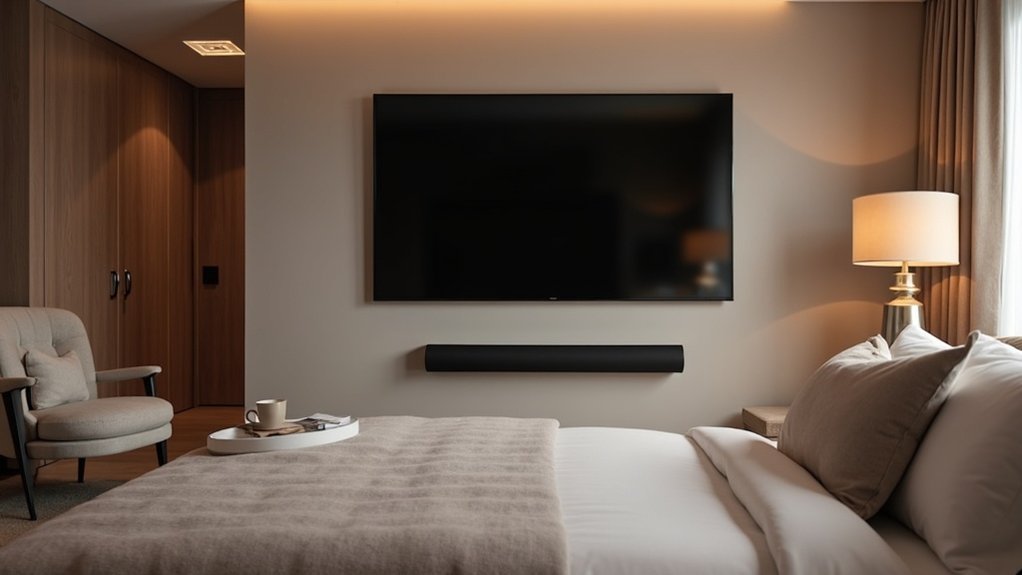
To achieve optimal audio quality from your soundbar, position it at the right height directly beneath your ceiling-mounted TV for aligned sound projection.
Ensure there’s sufficient distance from the wall mount to allow for effective sound dispersion while avoiding any obstructions.
Height Considerations for Soundbar
Positioning your soundbar at the right height is essential for achieving ideal audio performance, especially with a ceiling-mounted TV. Aim to place the soundbar within 3.30 inches of the TV’s bottom edge to optimize sound clarity and reduce interference.
Align it with the TV’s center for balanced audio across your viewing area. Consider your seating height; ideally, the soundbar should be at ear level when seated, typically 42 to 48 inches from the floor.
Utilize depth-adjustable mounts to fine-tune its position according to room acoustics, and ensure that the soundbar’s weight doesn’t exceed 20 lbs for secure installation. This will enhance your overall sound experience while enjoying your favorite media.
Distance From Wall Mount
Achieving ideal audio performance with your soundbar involves careful consideration of its distance from the wall mount. For superior sound quality, position the soundbar 1 to 3 inches away from the wall. This gap enhances audio dispersion and reduces sound interference from the wall surface.
When installing below a ceiling-mounted TV, ensure the soundbar is aligned with the TV’s center for a cohesive audio-visual experience. Maintain a gap between the soundbar and TV to prevent any audio blockage.
Consider using depth-adjustable mounts to fine-tune positioning, ensuring the soundbar is at ear level when seated, providing the best listening experience without straining your neck or ears.
Connecting Your Soundbar to the Ceiling Mounted TV
Connecting your soundbar to a ceiling-mounted TV can significantly enhance your audio experience. To get started, ensure that your TV has compatible audio outputs, such as HDMI ARC or optical audio.
For optimal sound quality, use an HDMI cable to connect the TV’s HDMI ARC port to the soundbar. If you prefer an optical audio connection, simply connect an optical cable from the TV’s optical output to the soundbar’s optical input.
For the best audio experience, connect your soundbar using HDMI ARC or an optical cable for clear sound.
In cases where your TV lacks direct connections, a digital-to-analog converter can help bridge the gap. Once everything is connected, double-check that all cables are secure and adjust the TV settings to prioritize the soundbar.
- Experience immersive sound
- Enjoy rich audio clarity
- Eliminate tinny TV speakers
- Transform movie nights
- Elevate your gaming experience
Adjusting Settings for Balanced Sound Output
Once your soundbar is connected to the ceiling-mounted TV, fine-tuning the audio settings is crucial for achieving a balanced sound output. Start by ensuring that your TV’s audio output is properly configured to route sound through HDMI ARC/eARC or optical. Next, adjust settings such as bass, treble, and surround sound to match your room’s acoustics and the height of the TV. Take advantage of the soundbar’s equalizer to optimize settings for different types of content and test the distance and delay settings to ensure audio-visual sync. For optimal performance, consider soundbar models that feature automatic room calibration.
| Setting Type | Adjustment Tips |
|---|---|
| Bass | Increase for deeper sounds |
| Treble | Boost for clarity |
| Surround Sound | Enable for an immersive experience |
Troubleshooting Common Connection Issues
When you’re experiencing audio issues with your soundbar, start by checking all cable connections to ensure they’re secure and undamaged.
Next, verify your audio settings to confirm that your device is set to route sound to the soundbar correctly.
Finally, inspect device compatibility to rule out any potential conflicts between your soundbar and other connected devices.
Check Cable Connections
Checking cable connections is essential for ensuring optimal audio performance between your soundbar and ceiling-mounted TV.
Follow these steps to troubleshoot potential issues:
- Ensure all audio cables (HDMI, optical, or analog) are securely connected to both the soundbar and the TV.
- Confirm the TV’s audio output settings are configured to route sound to the soundbar.
- Make sure the soundbar is powered on and set to the correct input source for your connection type.
- Inspect cables for any visible damage or wear that could affect audio quality.
- If using a digital to analog converter, verify all connections and functionality for seamless operation.
Verify Audio Settings
How can you ensure that your soundbar provides the ultimate audio experience with your ceiling-mounted TV? Start by verifying your TV’s audio output settings to direct sound to the soundbar instead of the internal speakers. Make sure the soundbar is powered on and set to the correct input. If you’re using HDMI ARC, check that both devices support it and that the cable is connected to the correct ports. For optical connections, confirm that the audio format is compatible. If you encounter any audio lag, adjust the audio delay settings for proper synchronization.
| Issue | Solution |
|---|---|
| No sound | Check audio output settings |
| Wrong input | Set the soundbar to the correct input source |
| Audio lag | Adjust audio delay settings |
| Incompatible format | Verify digital audio output format |
| ARC not working | Confirm HDMI ports and compatibility |
Inspect Device Compatibility
To enjoy high-quality audio from your ceiling-mounted TV with a soundbar, it’s crucial to inspect the compatibility between the two devices.
Make sure they share compatible connection options, such as HDMI ARC/eARC, optical audio, or Bluetooth.
- Confirm that your soundbar supports your TV’s surround sound formats for an immersive experience.
- Check the TV’s audio settings to ensure external speaker output is enabled.
- If necessary, use a digital-to-analog converter to bridge any compatibility gaps.
- Refer to the user manuals for both your soundbar and TV for troubleshooting tips and optimal setup.
- Lastly, verify that all cables are securely connected to avoid any audio issues.
Enhancing Your Audio Experience With Additional Equipment
While integrating a soundbar with your ceiling-mounted TV can significantly enhance your audio experience, it’s essential to select the right soundbar to maximize performance. Look for a soundbar with Dolby Atmos capabilities for an immersive sound experience, particularly when coupled with in-ceiling speakers. Ensure that your soundbar supports wireless connectivity and is compatible with your TV’s audio output options, such as HDMI ARC/eARC, for seamless integration. Additionally, choose a soundbar with adjustable positioning to help reduce audio interference.
| Equipment Type | Key Features |
|---|---|
| Soundbar | Dolby Atmos, Wireless |
| In-Ceiling Speakers | Surround Sound, Discreet |
| HDMI ARC/eARC | Seamless Audio |
| Adjustable Mount | Audio Alignment |
| Wireless Connectivity | Clutter-Free Setup |