To test lip sync on your soundbar, begin by ensuring that all connections are secure, utilizing HDMI ARC or optical cables for best performance. Adjust the volume settings on both your soundbar and TV, and become familiar with the audio delay settings that may be available. Next, utilize a calibration video that features synchronized audio and visual cues; start with a rough adjustment of 300 milliseconds and then fine-tune it in increments of 30 milliseconds for greater accuracy. Lastly, test various media sources to pinpoint any specific lip sync issues. This process will help you optimize your soundbar setup for the best audio-visual experience.
Key Takeaways
- Ensure correct connections between your soundbar and TV using HDMI ARC or optical cables to achieve optimal audio quality.
- Utilize a calibration video specifically designed for lip sync adjustments, featuring visual bars that are synchronized with audio cues.
- Begin with a 300-millisecond timeline for rough adjustments and then refine your settings using a 30-millisecond timeline for precise tuning.
- Access your soundbar’s audio settings to adjust the audio delay, which typically ranges from 0 to 300 milliseconds for fine-tuning.
- Test the lip sync using various media inputs, with a focus on dialogue-heavy content and different audio formats such as DTS and Dolby Digital.
Understanding Lip Sync Issues
When you’re enjoying a movie or playing a game with your soundbar, experiencing lip sync issues can be frustrating, as it disrupts your immersion.
These sync issues arise from discrepancies between audio and video signals, often due to audio delay. Factors like the audio format’s processing time and device compatibility can exacerbate the problem. Higher bitrate formats such as DTS may contribute to longer delays.
Fortunately, many soundbars come equipped with a lip-sync feature within their settings, allowing you to adjust this delay for a more seamless experience. However, it’s important to note that these adjustments typically only allow for positive corrections.
Additionally, environmental factors, such as speaker placement, can further complicate your audio-visual experience with a soundbar.
Preparing for Lip Sync Calibration
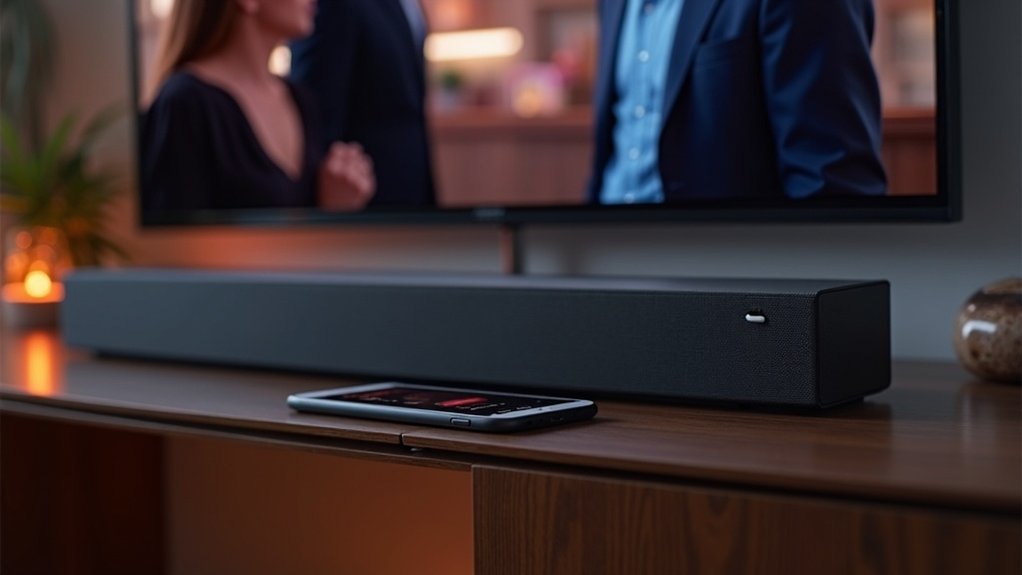
Before you begin the lip sync calibration process for your soundbar, it’s important to ensure that it’s connected correctly to your TV. Proper connections minimize latency and set the foundation for accurate adjustments.
Check your connections, ideally using HDMI ARC or optical cables, as these options provide the best audio quality.
Next, adjust the volume levels on both the soundbar and TV’s audio settings to a comfortable level for effective sync assessment.
Familiarize yourself with the audio delay or lip sync adjustment settings on both devices; these features will be critical during calibration.
Finally, plan to test various content types, including movies and dialogue-heavy scenes, to thoroughly evaluate the performance of your soundbar.
Using a Calibration Video
To effectively calibrate lip sync on your soundbar, use a calibration video specifically designed for this purpose. This video features a visual bar moving across a timeline, synchronized with audio cues to help you identify delays.
Begin with the initial 300-millisecond timeline for rough adjustments, then refine using the 30-millisecond timeline for precise tuning.
Watch the video from each input connected to your TV and soundbar to ensure accurate adjustments for all devices. If you notice a beep before the visual bar reaches zero, increase the audio delay until the sound syncs perfectly with the visual cue.
Repeat this process for each device to achieve optimal performance from your soundbar.
Adjusting Soundbar Settings
While adjusting the soundbar settings, you can enhance audio synchronization by accessing the audio settings through your soundbar’s remote control.
Enhance your audio synchronization by adjusting the soundbar settings via the remote control for optimal performance.
Look for the button labeled “Sound Control” or “Settings” to find options for modifying audio delay. Use the left and right buttons to adjust the audio delay, typically ranging from 0 to 300 milliseconds, while watching TV audio for precise syncing.
If your soundbar has an “Audio Sync” button, utilize it along with the skip buttons for fine-tuning.
Regularly consult the User Manual for specific features related to audio sync adjustments, as they can vary greatly by model.
Testing With Various Media Inputs
After you’ve adjusted the soundbar settings for ideal audio synchronization, it’s essential to test lip sync using various media inputs to ensure optimal performance. This approach allows you to determine if the issue persists across different formats. Utilize calibration videos specifically designed for soundbars, focusing on dialogue-heavy content to identify any noticeable discrepancies in synchronization. Experiment with multiple audio formats such as DTS and Dolby Digital to find the best alignment. Additionally, connect different devices like gaming consoles or media players to see if certain devices exacerbate lip sync issues.
| Media Input | Audio Format |
|---|---|
| Streaming Service | DTS |
| Blu-ray Disc | Dolby Digital |
| Live TV | PCM |
| Gaming Console | Dolby Atmos |