To maintain your soundbar subwoofer, regularly dust it using a soft, dry cloth and inspect it for any physical damage. Check and tighten all connections and examine power cables for wear. Adjust settings like crossover frequency and volume based on your room acoustics to optimize your soundbar’s performance. Experiment with subwoofer placement to enhance bass response and overall sound quality. Keeping up with these practices ensures longevity and optimal sound, allowing you to fully enjoy your soundbar experience.
Key Takeaways
- Regularly check the placement of your soundbar and subwoofer on the same wall for optimal bass performance and audio integration.
- Experiment with different locations and distances from walls to enhance the bass response and overall sound quality of your soundbar.
- Keep the area around your soundbar and subwoofer tidy to minimize dust accumulation, which can affect performance.
- Inspect power supply cables for any damage and ensure secure connections to maintain signal quality for your soundbar.
- If available, use calibration tools to fine-tune the settings of your soundbar and subwoofer for the best listening experience.
Dust It Off (the Right Way)
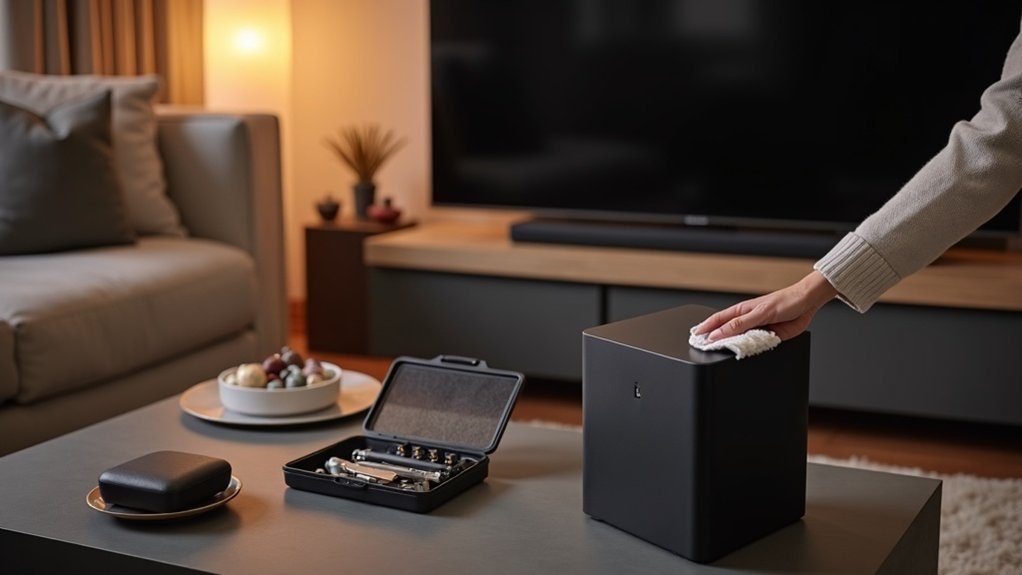
To keep your soundbar in top shape, start by dusting it off regularly—ideally, once a month.
Use a soft, dry cloth to gently remove surface dust, preventing scratches and damage. For stubborn smudges, slightly dampen the cloth, ensuring moisture stays away from the speaker components. This meticulous approach helps maintain sound quality by preventing dust buildup that can hinder performance.
Additionally, utilize a vacuum or a can of compressed air to clean the speaker grilles, ensuring peak airflow.
Avoid rough materials or abrasive cleaners, as they can scratch the surface, compromising both appearance and longevity.
Regular Cleaning and Inspection
After dusting off your soundbar, it’s important to focus on regular cleaning and inspection of the soundbar itself.
Use a soft brush or dry cloth to clean the speaker grille and enclosure, preventing dust buildup that can impact audio performance. Avoid moisture; water or liquid cleaners can damage internal components.
During your cleaning routine, inspect for any physical damage or signs of wear to ensure longevity. Keeping your soundbar in a tidy environment reduces dust accumulation, maintaining sound quality.
Always follow manufacturer recommendations for cleaning to protect your investment and guarantee peak performance. Regular care is essential for lasting enjoyment.
Checking Connections and Power Supply
Regularly checking connections and the power supply is essential for your soundbar’s performance. Inspect and tighten all connections to ensure they’re secure, as loose or corroded connections can severely impact audio quality.
Examine power supply cables for fraying, damage, or wear; faulty cords may cause unexpected shutdowns. Additionally, confirm that your power outlet provides consistent voltage, as fluctuations can disrupt soundbar operation.
Promptly replace any corroded or damaged cables to maintain signal quality. Regular inspections of both connections and power supply help you avoid operational issues, guaranteeing peak performance and longevity of your soundbar.
Adjusting Settings for Optimal Performance
To achieve ideal performance from your soundbar, it’s essential to adjust the crossover frequency and volume settings effectively.
Start by following the manufacturer’s recommendations for crossover frequency to balance bass impact with overall sound quality from your soundbar.
Experiment with different volume levels to tailor the audio experience to your room’s acoustics and personal preferences.
Crossover Frequency Adjustment
While adjusting the crossover frequency on your soundbar may seem intimidating, it’s crucial for achieving ideal sound performance. Typically set between 80 Hz to 120 Hz, this setting dictates when low-frequency sounds are directed to the soundbar’s built-in subwoofer or external subwoofer.
Regularly check and tweak the crossover frequency based on the content you’re watching or listening to in order to ensure seamless integration with mid and high frequencies, minimizing distortion.
Experimenting with different settings can help you find the right balance between bass impact and clarity, especially considering your audio environment.
Always consult your user manual for manufacturer-recommended crossover settings to optimize performance.
Volume Level Management
Achieving ideal sound performance with your soundbar requires careful attention not just to crossover frequency but also to volume level management.
Maintaining moderate volume levels during regular use prevents strain on your soundbar’s internal components, enhancing longevity and sound quality. Adjust the crossover frequency and volume settings according to the manufacturer’s recommendations to optimize bass output without distortion.
Excessive volume can lead to damage, so monitor your settings closely. Experiment with various adjustments for a balanced audio experience, ensuring the bass complements overall sound without overwhelming other frequencies.
Regularly check and adapt settings based on your room’s acoustics to improve sound perception and delivery.
Protecting From Overloading
Overloading your soundbar can lead to significant damage, so it’s vital to take proactive measures to protect it. Follow these guidelines to keep your soundbar safe from overloads:
| Action | Description |
|---|---|
| Adhere to Power Ratings | Always follow the manufacturer’s specified power limits. |
| Use Surge Protectors | Safeguard against surges and fluctuations. |
| Monitor Environment | Avoid direct sunlight and humid conditions. |
| Check Connections Regularly | Verify connections are secure and free from corrosion. |
| Maintain Ideal Conditions | Regularly assess and adjust placement as needed. |
Performing Regular Listening Tests
Performing regular listening tests is essential for detecting audio distortions in your soundbar.
By evaluating playback with various music genres or sound effects, you can identify issues that affect sound clarity and overall performance.
If you encounter any problems, refer to the manufacturer’s troubleshooting guides to effectively address and resolve these playback issues.
Detecting Audio Distortions
How can you ensure your soundbar delivers optimal audio performance? Regular listening tests are crucial for detecting audio distortions such as rattling or unusual noises.
Pay close attention to any changes in sound quality, as early detection can prevent further issues. It’s important to test at various volume levels to determine if distortions occur only at higher outputs.
If you notice problems during your tests, refer to your soundbar’s troubleshooting guide for model-specific solutions.
Troubleshooting Playback Issues
Identifying audio distortions in your soundbar is only the first step; troubleshooting playback issues is essential for maintaining ideal sound quality. Regular listening tests are vital for spotting audio performance problems such as distortion or rattling. Focus on bass clarity and responsiveness, as these factors can indicate issues with your soundbar. If you notice any problems, refer to the manufacturer’s troubleshooting guides to prevent further damage. Here’s a quick reference table tailored for soundbars:
| Issue | Action Needed |
|---|---|
| Distortion | Adjust settings |
| Rattling | Check connections |
| Bass clarity loss | Reposition soundbar |
| Abnormal noises | Consult the manual |
Perform these tests periodically to ensure peak performance of your soundbar.
Following Manufacturer Guidelines
To ensure your soundbar, particularly those featuring Dolby Atmos technology, operates at its best, it’s vital to adhere closely to the manufacturer’s guidelines.
Regularly consult the user manual for maintenance tasks tailored to your specific soundbar model. Familiarize yourself with the soundbar’s specifications and limitations to avoid any operational issues.
Pay special attention to recommendations regarding placement, environmental conditions, and power ratings to prevent damage and ensure optimal performance.
Following these guidelines not only boosts sound quality but can also help avoid warranty complications.
Experimenting With Subwoofer Placement
Where can you position your subwoofer for the best sound experience with your soundbar?
Start by avoiding corners or enclosed spaces, as they can create distortion and muddiness in the overall sound.
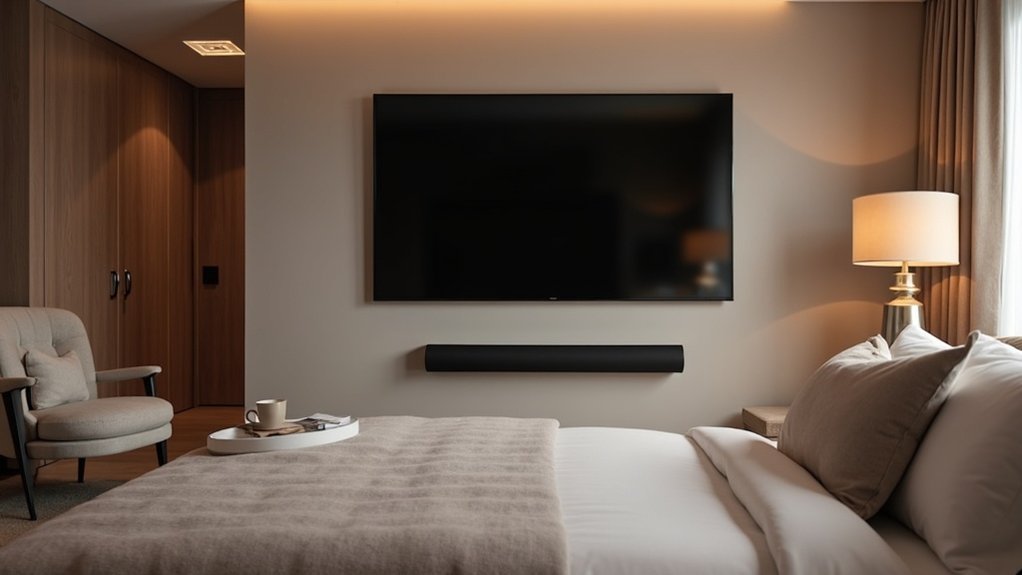
Place the subwoofer on the same wall as your soundbar to enhance bass performance and achieve better integration with the soundbar’s audio output.
Position your subwoofer on the same wall as your soundbar for optimal bass performance and seamless audio integration.
Move it around the room to discover the ideal location, testing various distances from walls to evaluate changes in bass response.
Keep in mind that thick carpets can absorb bass frequencies, so opting for a hard surface can improve performance.
Regularly reassess the placement as room dynamics shift, ensuring you maintain excellent sound quality with your soundbar setup.