To calibrate your soundbar for vaulted ceilings, start by positioning it at ear level, ideally between 36 to 42 inches high, directly under the TV to guarantee clear sound projection. Utilize upward-firing or reflective speakers to enhance audio quality. Take advantage of built-in calibration features to analyze room acoustics, ensuring the microphone is at ear level during setup. Finally, manually adjust speaker levels for balanced audio and regularly assess room acoustics to maintain peak sound quality. Explore additional techniques to elevate your soundbar experience.
Key Takeaways
- Position the soundbar centrally below the TV at ear level, ideally between 36 to 42 inches high, for optimal sound distribution.
- Utilize upward-firing or reflective soundbars to enhance audio bounce off vaulted ceilings, ensuring they have a clear line of sight.
- Regularly calibrate your soundbar using built-in features, positioning the microphone at ear level in the main listening area for accurate results.
- Adjust speaker levels manually or use a sound level meter to achieve balanced audio output in complex acoustic environments.
- Incorporate soft furnishings and acoustic panels in your space to minimize echo and improve sound clarity, reassessing room acoustics after any modifications.
Understanding Vaulted Ceilings and Their Impact on Sound
When setting up a soundbar in a room with vaulted ceilings, it’s crucial to understand how these unique architectural features can affect audio performance.
Vaulted ceilings, typically rising 6 feet or more, can complicate sound distribution and the overall audio experience. The height and angle of the ceiling can lead to reflections, resulting in echoes or uneven sound dispersion.
Proper placement of the soundbar is essential; mounting it too low can diminish sound projection and immersion. Additionally, the design of vaulted ceilings may limit the spot for optimal soundbar installation, as the sound needs to travel further to reach the listener.
Importance of Proper Soundbar Placement
Proper soundbar placement is crucial for optimal audio performance.
To achieve the best sound quality, position the soundbar at ear level and ensure there’s a clear path for sound waves, free from any obstructions that could distort the audio.
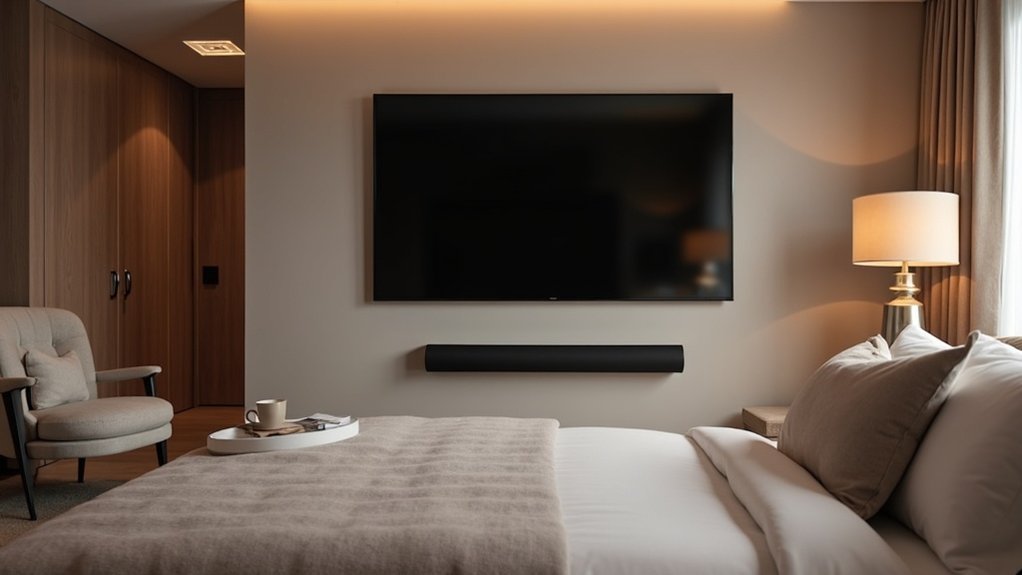
Optimal Height Alignment
Achieving ideal soundbar performance hinges on strategic height alignment. For vaulted ceilings, position your soundbar at ear level when seated, ideally between 36 to 42 inches high. This ensures optimal sound projection toward your listening area.
Place the soundbar centrally beneath the TV for balanced sound distribution, avoiding any obstructions that could hinder audio clarity. If your soundbar features upward-firing drivers, ensure they’ve a clear line of sight to the ceiling to enhance sound reflection for an immersive audio experience.
Finally, consider using adjustable mounting brackets to fine-tune the angle, maximizing your setup for the unique acoustics of vaulted ceilings.
Clear Path for Sound
Height alignment is crucial for optimal soundbar performance, but proper placement is key to ensuring an unobstructed audio experience.
Position your soundbar on a console directly in front of the TV to maintain a clear path for sound. Avoid placing it too far back, as furniture or sloping ceilings can interfere with sound reflections.
For soundbars equipped with upward-firing drivers, ensure they’ve a direct line to the ceiling to effectively bounce sound back to your listening area. Mounting the soundbar too high can direct audio away from you, so aim for ear level when seated to enhance clarity and immersion.
Avoiding Obstructions and Distortions
To maximize your soundbar’s performance, it’s essential to avoid obstructions that can distort audio quality.
Position the soundbar on a console directly in front of the TV to ensure it projects sound clearly into the listening area. Avoid placing it too far back on a shelf, as this can block sound waves, especially in rooms with vaulted ceilings.
If you’re considering ceiling mounting, ensure it’s at a height that allows direct sound projection without interference from furniture.
Regularly check the placement to maintain an unobstructed path, as even minor changes in room layout can affect sound quality and your overall listening experience.
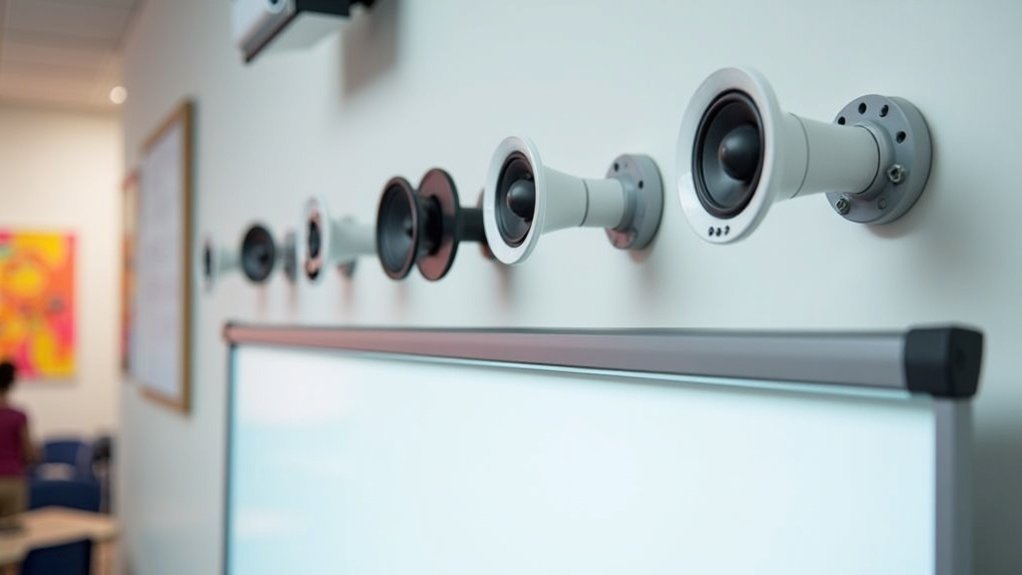
Utilizing Upward-Firing and Reflective Speakers
When setting up a soundbar with upward-firing and reflective speakers, understanding their positioning is essential for optimal sound reflection.
Ensure that these speakers have a clear path to the ceiling, maintaining the recommended height separation for the best results.
Additionally, using calibration techniques can significantly enhance your audio experience, making the most of your soundbar’s capabilities.
Speaker Types Overview
Utilizing soundbars with upward-firing and reflective capabilities can dramatically enhance your audio experience, especially in Dolby Atmos setups. Here’s a quick overview of these soundbar features:
- Upward-Firing Soundbars: These models feature built-in modules that project sound toward the ceiling, creating a bounce effect for immersive audio.
- Reflective Soundbars: Designed to direct sound off the ceiling, they’re ideal for vaulted ceilings where traditional mounting is challenging.
- Placement Considerations: Position these soundbars below ear level with a clear line of sight to the ceiling to ensure effective sound reflection and clarity.
When configured correctly, soundbars with these features can elevate your audio experience markedly.
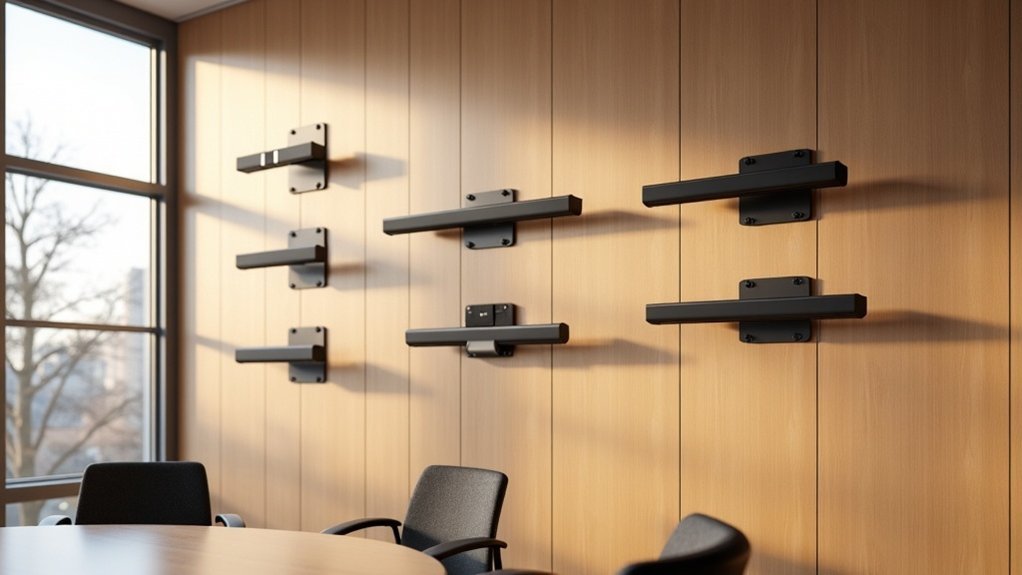
Positioning for Reflection
Positioning your soundbar for ideal reflection is essential for achieving an immersive audio experience, particularly when using upward-firing and reflective speakers.
For rooms with vaulted ceilings, ensure that upward-firing speakers are placed at least 5 feet high, allowing for a clear path to the ceiling to facilitate optimal sound wave reflection.
If your soundbar is equipped with reflective speakers, position them centrally in front of your seating area and angle them slightly forward to enhance the directionality of the sound.
Additionally, consider placing ceiling speakers at the juncture where the vaulted ceiling meets the wall for the best acoustic effect.
Don’t hesitate to experiment with different placements and angles to find the configuration that provides the most natural and immersive audio experience tailored to your specific room layout.
Calibration Techniques Explained
Achieving ideal sound quality in your home theater setup with a soundbar involves careful calibration, especially when working with upward-firing and reflective speakers.
To effectively calibrate your Dolby Atmos soundbar system, follow these steps:
- Confirm that the upward-firing drivers on your soundbar have a clear path to the ceiling, avoiding any obstructions.
- Utilize your soundbar’s built-in calibration features to optimize audio based on your room’s acoustics.
- Regularly assess sound quality from your listening position, making manual adjustments as needed for the best experience.
Leveraging Built-in Calibration Features
When you want to enhance your soundbar’s performance, utilizing its built-in calibration features is crucial. These systems analyze room acoustics with integrated microphones to ensure balanced sound. For optimal results, position the microphone at ear level in your primary listening area and minimize background noise during calibration. This process adjusts speaker levels to account for the unique acoustics of vaulted ceilings, thereby enhancing your audio immersion. Regular re-calibration after rearranging furniture or changing room layouts is important to maintain peak audio quality.
| Step | Action | Purpose |
|---|---|---|
| 1. Set Up | Position the microphone at ear level | Ensure accurate measurements |
| 2. Silence | Turn off any background noise | Prevent interference |
| 3. Initiate | Start the built-in calibration | Improve sound output |
| 4. Recalibrate | Repeat the process after changes | Preserve audio clarity |
Manual Calibration Techniques for Optimal Sound
To ensure your soundbar operates at its best, manual calibration is key, particularly in rooms with vaulted ceilings.
Follow these steps to achieve optimal sound quality:
- Place the soundbar at ear level and position it centrally beneath the TV for a direct sound path.
- Utilize a sound level meter or a mobile app to gauge sound pressure levels, aiming for 79 to 80 dB across all speakers, including subwoofers.
- Adjust height speakers or up-firing drivers to bounce sound off the ceiling, ensuring a minimum separation of 5 feet from the main speakers for improved acoustics.
Implementing this setup will significantly enhance your audio experience with your soundbar.
Adjusting Speaker Levels for Balanced Audio
Adjusting the speaker levels of your soundbar is essential for achieving a balanced audio experience, particularly in complex acoustic environments.
Position your soundbar below the TV with unobstructed upward-firing drivers to maximize sound reflection off vaulted ceilings.
Position your soundbar beneath the TV, ensuring upward-firing drivers are free from obstruction for optimal sound reflection.
Utilize a sound level meter or smartphone app to measure sound pressure levels, aiming for approximately 79 to 80 dB for optimal balance.
You can manually adjust the speaker levels through the soundbar settings to create a cohesive sound stage.
Additionally, take advantage of built-in room calibration features that automatically adjust speaker levels, ensuring consistent audio performance as room acoustics evolve over time.
Regular recalibration is vital to maintain audio quality.
Addressing Room Acoustics and Furniture Placement
Optimizing the acoustics of your room and the placement of furniture is crucial for enhancing the performance of your soundbar. In a room with vaulted ceilings, consider the following strategies:
- Position furniture strategically: Ensure that there’s a clear line of sight between your soundbar and the listening area to improve audio clarity and impact.
- Incorporate soft furnishings: Adding rugs and curtains can help absorb sound and minimize echo, thereby enhancing the overall sound quality produced by your soundbar.
- Utilize acoustic panels: Installing acoustic panels on the walls can reduce sound reflections, creating a more controlled acoustic environment that complements your soundbar’s performance.
Be sure to regularly assess your room’s acoustics after making any changes, as even minor adjustments can significantly affect your listening experience with the soundbar.
Enhancing Your Listening Experience With Spacefit Sound
As you strive to elevate your audio experience, SpaceFit Sound presents a robust solution specifically designed for the unique acoustics of your space. This feature utilizes sensors to assess the dimensions of your room, enabling sound control that adjusts to various ceiling heights. Compatible with select Samsung QLED TVs and Q-Series Soundbars, it enhances front sound output for improved clarity and immersion. Activating SpaceFit Sound is straightforward with the soundbar remote, ensuring that you can easily maintain exceptional audio quality as your room’s acoustics change.
| Feature | Benefit | Impact on Experience |
|---|---|---|
| Sensor Analysis | Customized Audio Output | Enhanced Clarity |
| Compatibility | Seamless Integration | Streamlined Setup |
| Regular Calibration | Consistent Sound Quality | Immersive Listening |
| Mitigated Reflections | Enhanced Acoustic Balance | Richer Audio Experience |
| User-Friendly | Easy Activation | Effortless Enjoyment |