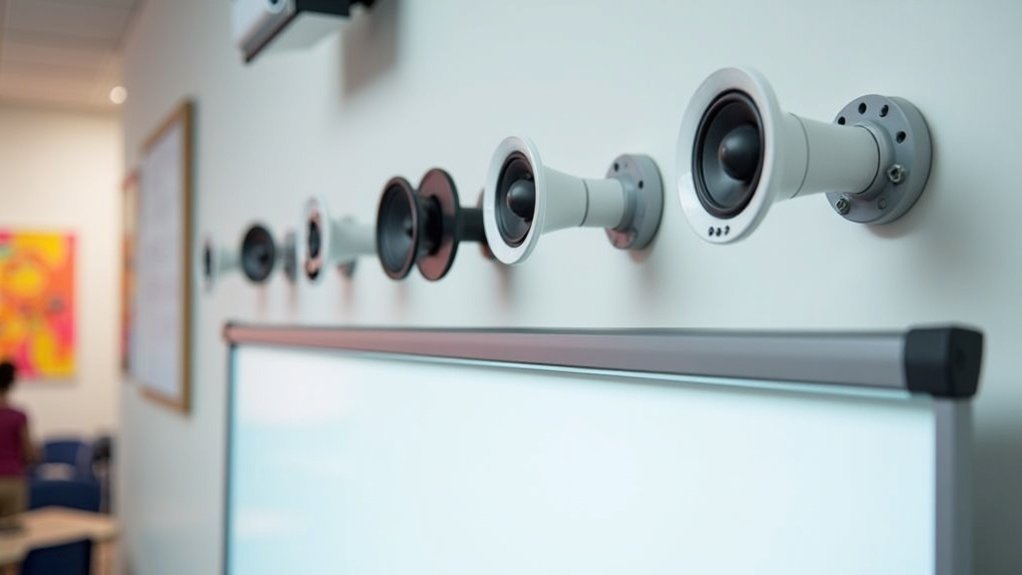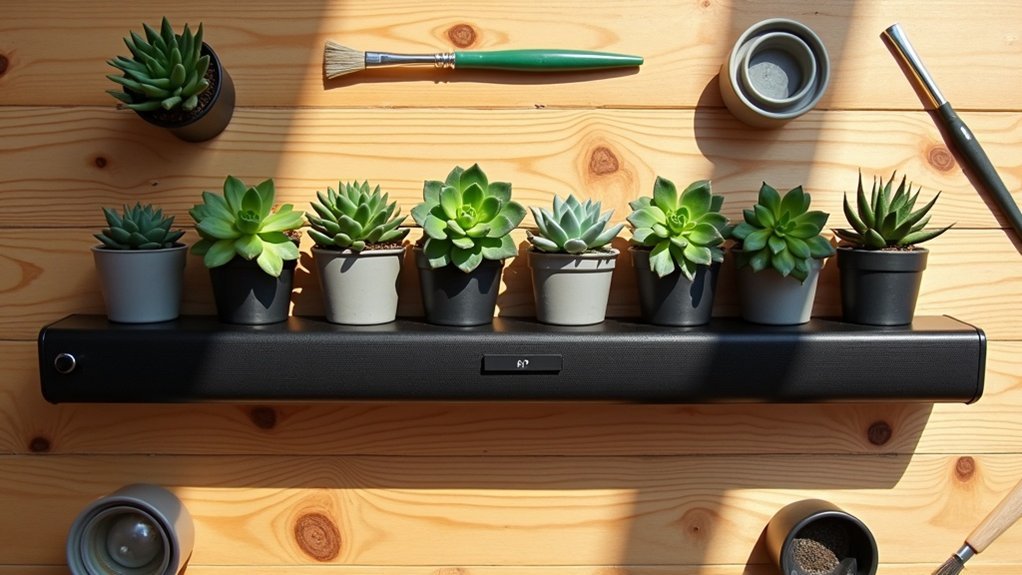
To repurpose your old soundbar, start by disassembling it to extract valuable components like woofers and tweeters. Ensure these drivers are compatible with your amplifier, matching their impedance and power ratings for optimal performance. Next, design custom speaker enclosures using dense materials to enhance sound quality, and consider upgrading the internal components for even better audio output. Finally, explore DIY communities for tips and inspiration on creative uses for your extracted drivers. There are many innovative ways to enhance your audio setup with your old soundbar components waiting for you!
Key Takeaways
- Carefully disassemble the soundbar, taking note of internal connections and identifying usable components such as drivers for future soundbar projects.
- Design custom speaker enclosures using dense materials to enhance sound quality and ensure they match the specifications of the drivers extracted from the soundbar.
- Utilize the extracted drivers alongside compatible amplifiers to create a new soundbar system, making sure that the power ratings align to prevent distortion.
- Engage with online DIY communities focused on soundbars for ideas, tutorials, and troubleshooting, and share your repurposing journey within these forums.
- Experiment with combining soundbar components into unique audio solutions or custom setups that cater to specific listening preferences for an enhanced audio experience.
Disassembling the Soundbar for Components
Before you dive into repurposing your old soundbar, it’s crucial to safely disassemble it to access its components.
Begin by unplugging the soundbar and removing any screws from the exterior casing. Gently detach the housing to expose the internal components, such as wiring, circuit boards, and drivers.
Make sure to take note of how everything is connected; this will make reassembly easier later on. Identify the types of drivers, like woofers and tweeters, as these can be repurposed for various DIY audio projects.
Take careful notes of connections and identify drivers like woofers and tweeters for future DIY audio projects.
Always remember to discharge any capacitors safely before handling them. Taking photographs of the disassembled parts will serve as a useful reference for your future endeavors.
Exploring DIY Speaker Enclosure Designs
When you’re designing a soundbar enclosure, it’s crucial to take into account both the volume and materials.
A well-sized enclosure can enhance your sound quality, while choosing the right material—like MDF or plywood—will impact durability and acoustics.
Don’t forget to seal it properly to prevent air leaks and boost your audio performance!
Design Considerations for Enclosures
Designing a DIY soundbar enclosure requires careful consideration of several factors to ensure optimal sound performance.
It’s important to match the cabinet size and volume to your specific drivers to avoid distortion. Using dense materials like MDF or plywood minimizes vibrations that can degrade sound quality. Properly sealing the enclosure is essential to prevent air leaks, which could lead to a loss of bass response and audio fidelity.
Additionally, consider the enclosure type—sealed, ported, or bandpass—based on your desired sound characteristics. Incorporating internal bracing enhances structural integrity for a better listening experience, especially if your soundbar is beyond repair.
Materials for DIY Projects
Creating a successful DIY soundbar enclosure hinges on selecting the right materials. Consider these options for best performance and sound quality:
- MDF or Plywood: Ideal for their acoustic properties and ease of construction, ensuring a solid foundation for your soundbar.
- Bracing Materials: Use these to reduce unwanted vibrations and enhance the integrity of the soundbar cabinet.
- Soundproofing Materials: Incorporate acoustic foam or fiberglass insulation to minimize resonance and improve overall sound clarity.
- Enclosure Shapes: Experiment with different designs to optimize sound dispersion and frequency response for a more immersive audio experience.
Ensuring Driver and Amplifier Compatibility
To ensure your repurposed soundbar delivers optimal performance, it’s crucial to match the drivers’ impedance with the amplifier. Standard drivers typically operate within the range of 4 to 8 ohms. Additionally, make sure that the power ratings are aligned; for example, if a driver has a rating of 20 watts RMS, you should not exceed this output. Adjusting crossover frequencies is also important to prevent sound quality issues.
When considering the amplifier type, note that built-in DSPs are designed to optimize sound for specific drivers, whereas standalone amplifiers may require additional components. Lastly, always test driver performance using a multimeter to check continuity and resistance before making any connections.
| Specification | Recommended Value |
|---|---|
| Impedance | 4 to 8 ohms |
| Power Rating | Match driver RMS |
| Crossover Frequency | Adjust as needed |
| Amplifier Type | DSP vs. Standalone |
| Testing Method | Use a multimeter |
Building a Custom Audio System
Once you’ve ensured that your soundbar’s drivers and amplifier are compatible, it’s time to delve into the exciting world of enhancing your soundbar experience.
Ensure your soundbar’s drivers and amplifier are compatible before diving into enhancing your audio experience.
Here are some essential steps to get you started:
- Disassemble the soundbar to extract usable mid and treble drivers.
- Model the specifications of these drivers for optimal performance within the soundbar’s design.
- Utilize the built-in DSP if it aligns with your soundbar configuration, but adjust settings for different sound profiles as needed.
- Incorporate crossovers to manage frequency distribution effectively within the soundbar.
Engaging with DIY audio communities can provide invaluable insights and inspiration, helping you troubleshoot and enhance your soundbar project.
Enjoy the process!
Creative Ways to Use Extracted Drivers
Repurposing extracted drivers from an old soundbar opens up a world of creative possibilities for enhancing your audio experience.
You can create custom soundbar systems tailored to your preferences, combining mid and treble drivers with new subwoofers for a balanced sound experience, perfect for music and movies.
Experiment with various materials like wood or cinder blocks to design enclosures that fit your drivers.
Just remember to evaluate cabinet size and design, as improper modeling can hinder performance.
If you’re using the original amplifiers, be prepared to make adjustments to maintain sound quality in your new soundbar setup.
Tips for Enhancing Sound Quality
To truly enhance the sound quality of your soundbar, start by optimizing its placement and ensuring it’s at ear level, angled toward your listening area.
Upgrading internal components and using quality amplifiers can also make a noticeable difference in audio performance.
With these adjustments, you’ll enjoy a richer, more immersive sound experience from your soundbar.
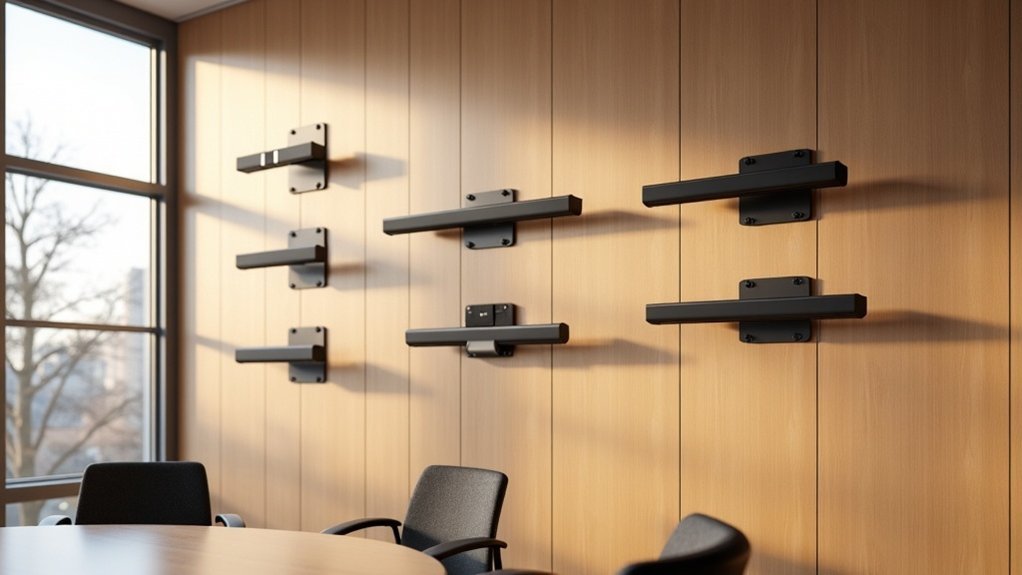
Upgrade Speaker Components
Upgrading the speaker components in your old soundbar can significantly enhance its audio performance, providing a sound experience that feels fresh and vibrant.
Here are some tips to elevate sound quality in your soundbar:
- Replace outdated drivers for improved clarity and bass response.
- Ensure compatibility between new drivers and the existing amplifier to avoid damage.
- Add a dedicated crossover network to optimize frequency distribution for each driver.
- Upgrade to new tweeters with higher sensitivity ratings for better volume and high-frequency response.
With these enhancements, your soundbar will deliver a richer, more immersive audio experience.
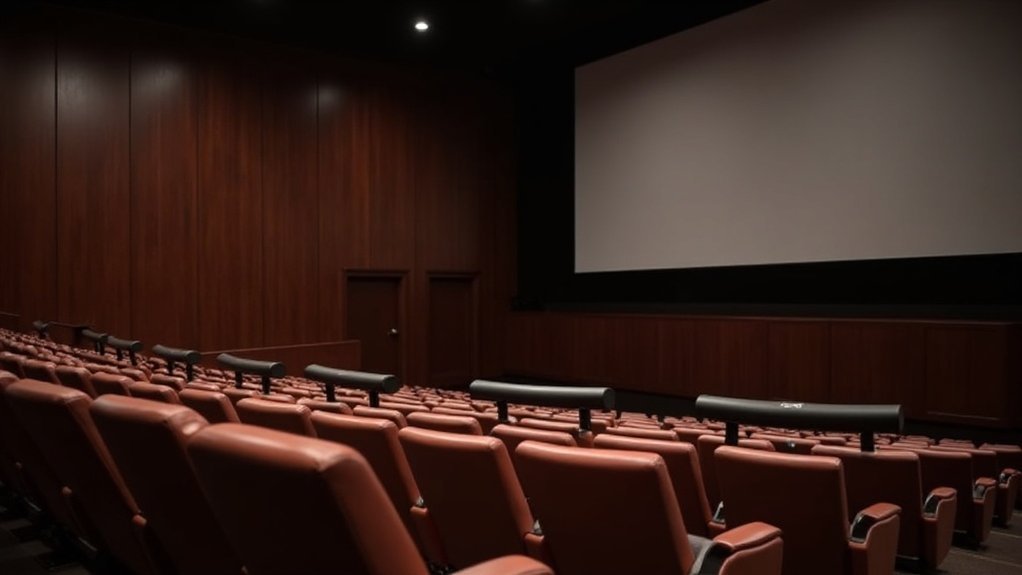
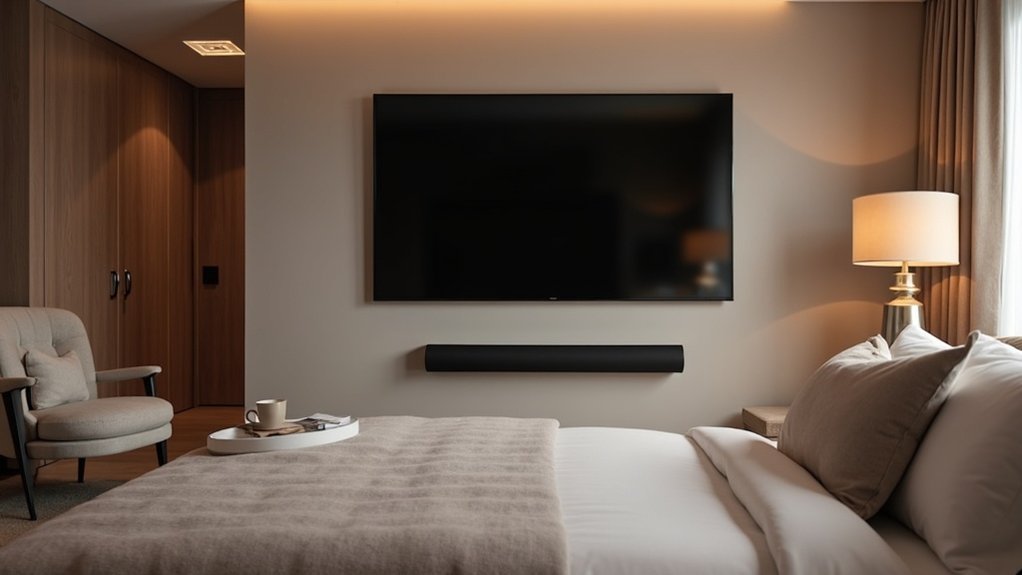
Optimize Speaker Placement
Optimizing soundbar placement can significantly enhance your audio experience. Position your soundbar at ear level when seated to maximize clarity and immersion.
Experiment with the “rule of thirds,” placing the soundbar one-third from the back wall for a balanced soundstage. Keep it a few inches away from walls and corners to reduce unwanted bass buildup and improve sound quality.
Incorporate acoustic panels or soft furnishings to absorb sound reflections and minimize echo.
For multi-soundbar setups, maintain equal distance from each soundbar to the listening area for uniform sound distribution and a cohesive audio experience.
Utilize Quality Amplifiers
If you’re looking to enhance your soundbar experience, investing in a quality external amplifier can be a game changer.
Here are some tips to optimize your sound quality:
- Seek amplifiers with a total harmonic distortion (THD) rating of 0.1% or lower to achieve a cleaner sound that complements your soundbar.
- Opt for amplifiers with built-in digital-to-analog converters (DACs) to elevate audio fidelity, especially from digital sources.
- Ensure the amplifier’s wattage matches your soundbar’s drivers’ RMS power to prevent distortion or potential damage.
- Consider using a separate crossover to fine-tune frequency distribution between your soundbar and subwoofers, resulting in a fuller and richer audio experience.
Upgrade your setup and enjoy the enhanced audio that comes with a quality amplifier paired with your soundbar!
Community Resources and Inspiration for DIY Projects
As you explore the potential of repurposing your old soundbar, engaging with community resources can ignite your creativity and offer valuable insights.
Join online forums such as DIY Audio or Reddit’s r/DIY to connect with fellow soundbar enthusiasts who share their experiences. YouTube channels focused on DIY electronics provide tutorials on disassembling soundbars and reusing their components effectively.
Platforms like Instructables and Hackster.io offer detailed guides on transforming soundbar parts into innovative audio solutions. Additionally, you can access schematics and service manuals from Electro-Tech-Online to better understand your soundbar’s internal workings.
Lastly, consider attending local maker fairs or workshops to network and gain hands-on experience in repurposing soundbar technology.