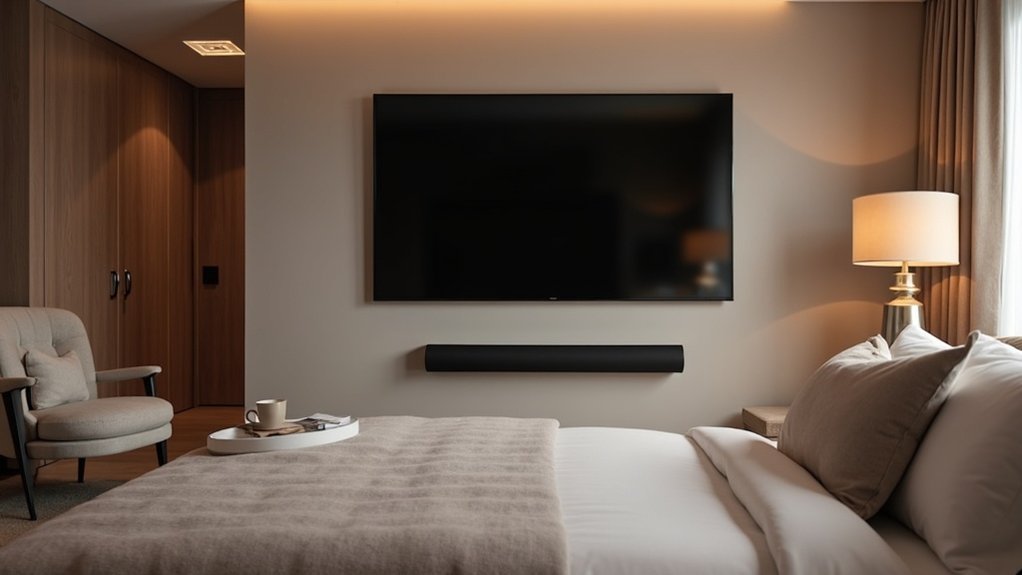
To adjust your soundbar’s height channels for optimal audio performance, begin by positioning it as far forward on your cabinet as possible to maximize ceiling reflections. Ensure that there are no obstructions blocking the soundbar. Utilize your remote to select height channel options such as “Elevate Up” or “Elevate Auto.” Set the center channel volume to around 50% and the height channel volume to 100%. If you have mounted the soundbar on the wall, make sure to fine-tune the angles. Regularly test your settings to achieve an immersive sound experience. There’s much more to discover for enhancing your soundbar setup.
Key Takeaways
- Position the soundbar as far forward as possible on the cabinet to enhance ceiling reflections for height channels.
- Select height channel settings like “Elevate Up” or “Elevate Auto” using the remote for optimal audio projection.
- Set the center channel volume around 50% and height channel volume to 100% for balanced sound distribution.
- Regularly test and adjust the soundbar’s angle and settings based on your room’s acoustics and content type.
- Ensure there are no obstructions in front of the soundbar to maximize the effectiveness of height channel audio.
Understanding Height Channels in Soundbars
Height channels in soundbars are essential for creating an immersive audio experience by simulating sounds that seem to come from above. These channels enhance the three-dimensional soundscape using object-based sound technology, such as Dolby Atmos, which assigns audio to specific locations within your room.
Typically, a height channel configuration is indicated as the third number in surround setups, like 7.1.4, which signifies four height channels.
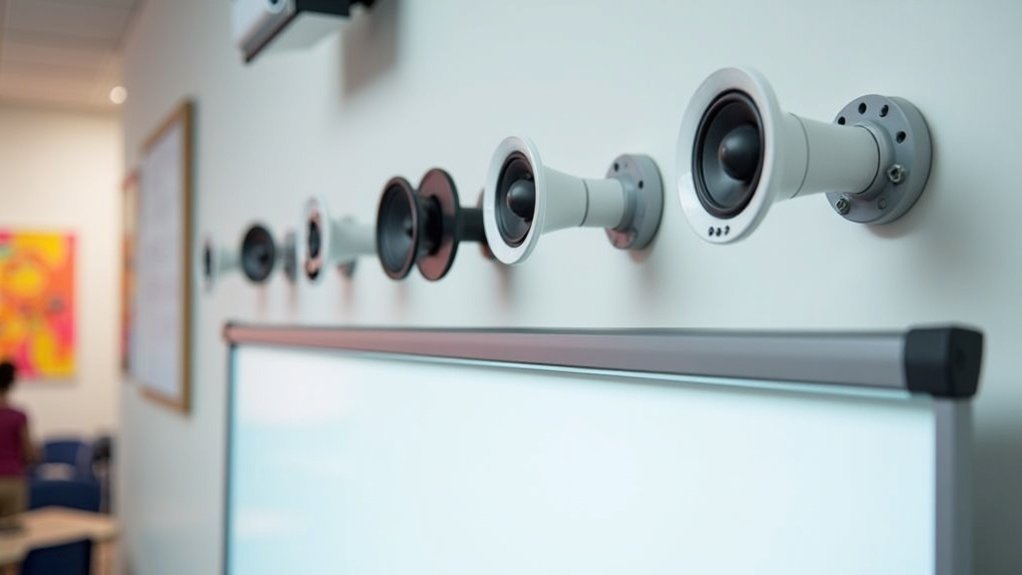
Soundbars equipped with upward-firing speakers utilize Dolby Atmos to reflect sound off the ceiling, effectively producing height channels without the need for additional speakers. This technology enriches the realism of movies and music by delivering overhead sound effects, making your soundbar experience more dynamic and engaging.
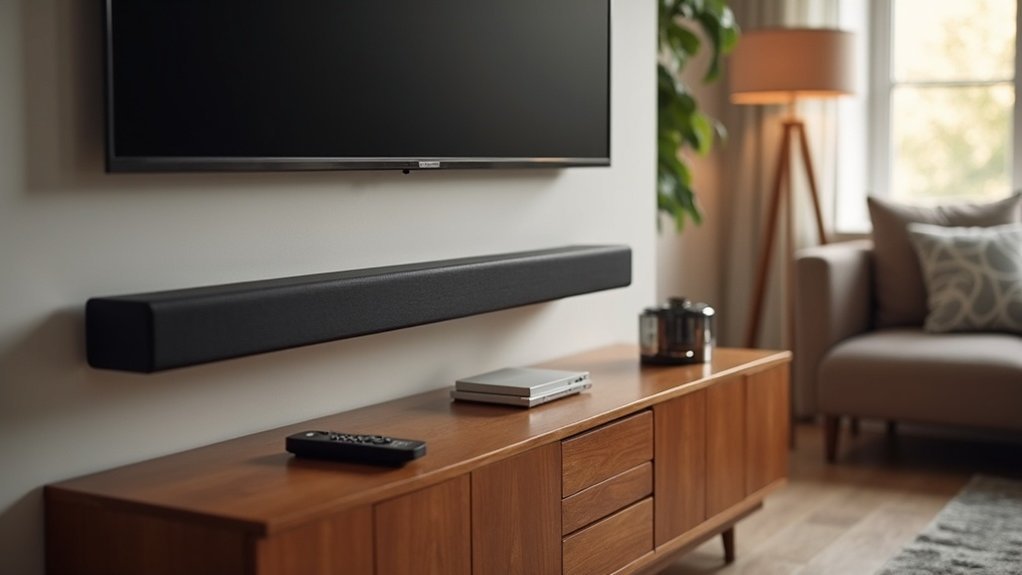
Importance of Proper Soundbar Placement
When positioning your soundbar, it’s essential to consider its placement to maximize height channel performance. Position the soundbar as far forward as possible on the cabinet to enhance ceiling reflections.
Position your soundbar forward on the cabinet to optimize height channel performance and enhance ceiling reflections.
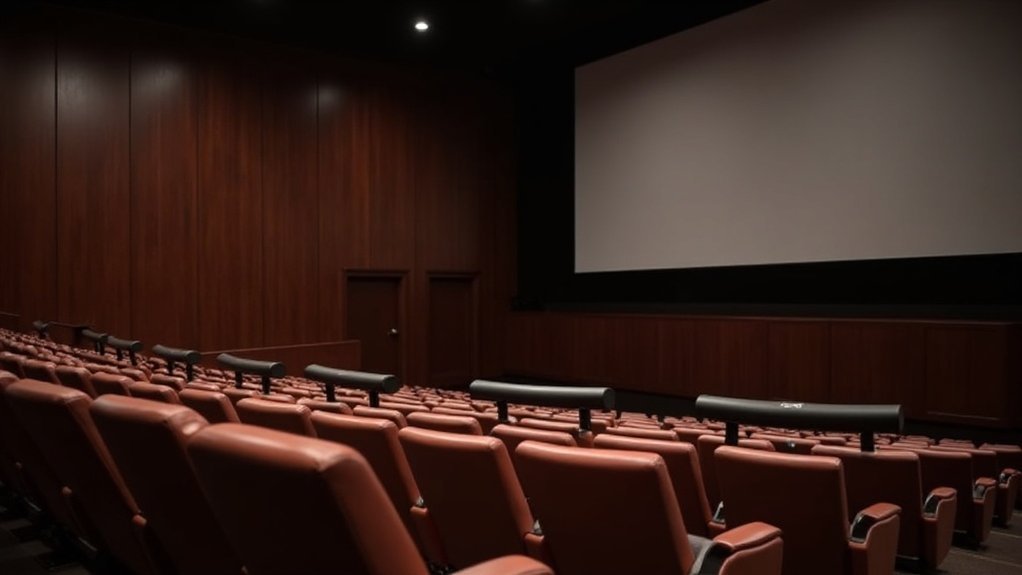
Avoid wall mounts that may misalign the angle, as this can limit effective sound projection. In larger rooms, strategic placement is key to ensuring height channel audio reaches the listener unobstructed.
A forward tilt adjustment can further enhance height channel projection, enriching your sound experience by directing sound upward.
Lastly, make sure no furniture or objects obstruct the soundbar, as any interference can significantly compromise the height channel effects you aim to achieve.
Step-by-Step Guide to Adjusting Height Channels
Achieving ideal sound quality from your soundbar involves fine-tuning the height channels for an immersive audio experience.
Start by positioning your soundbar as far forward as possible to effectively reflect sound off the ceiling. Use the remote to select your desired height channel setting, such as “Elevate Up” or “Elevate Auto.”
Adjust the center channel volume to around 50%, while increasing the height channel volume to 100% for balance. If your soundbar is wall-mounted, ensure proper angle adjustments are made to optimize height channel performance.
Regularly test and tweak these settings based on the type of content you’re watching and the acoustics of your room to achieve the best audio effects.
Recommended Sound Settings for Optimal Performance
To enhance your soundbar’s performance, consider adjusting specific sound settings that improve your audio experience. Lower the center channel volume to around 50% to prevent it from overpowering the height channels during playback.
Increase the height channel volume to 100% to ensure that overhead audio effects are prominent and clearly heard. Adjust the overall system volume for a balanced sound quality across all channels, creating an immersive listening experience tailored specifically for your soundbar.
Troubleshooting Common Height Channel Issues
Although height channel effects can considerably elevate your audio experience with soundbars, issues may arise that diminish their impact.
First, verify your soundbar’s placement is ideal, angled correctly for ceiling reflections. Adjust the center channel volume to around 50% while increasing the height channel volume to 100% for better balance.
Depending on the content you’re watching or listening to, switch between Dolby listening modes to enhance height channel performance. Position the soundbar as far forward as possible on the cabinet, avoiding wall-mounted setups that obstruct sound projection.
Finally, experiment with settings like “Elevate Up” or “Elevate Wide” to fine-tune your height channel experience in your space.
Enhancing Your Setup With Additional Features
To enhance your soundbar setup, focus on ideal speaker placement and advanced sound settings.
Proper positioning ensures effective audio projection, while customizing sound settings allows for a tailored experience that complements your favorite movies and music.
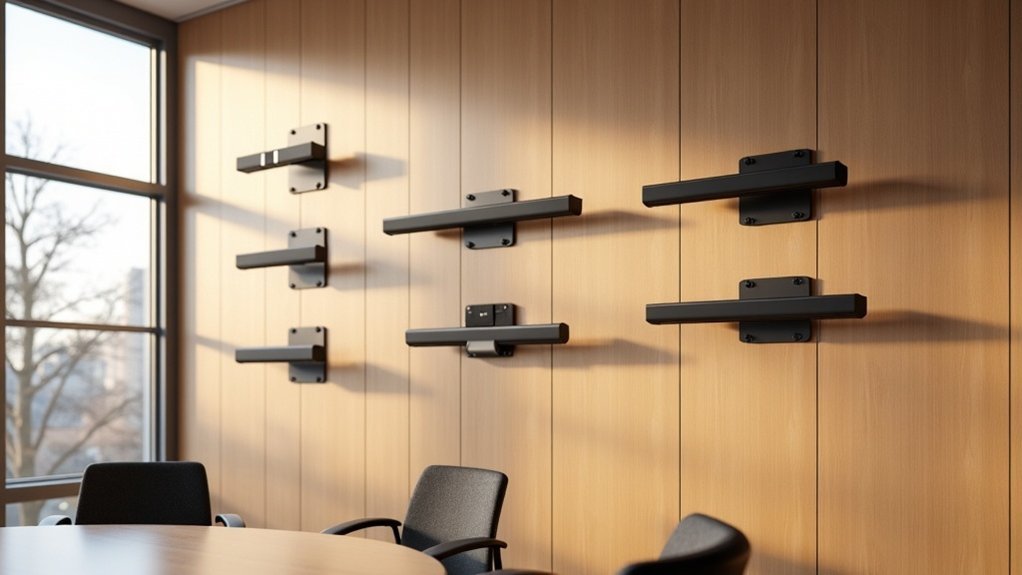
Optimal Speaker Placement
When perfecting speaker placement for your soundbar, positioning it as far forward as possible on the cabinet is crucial for achieving the right angle for height channel reflection from the ceiling. Wall-mounted soundbars can hinder height channel performance, so consider using a stand or shelf for ideal sound projection. In larger rooms, strategic placement enhances height channel effects, requiring adjustments based on ceiling height and room acoustics. Experimenting with soundbar tilt can improve height channel audio projection, which significantly impacts immersion. Be sure to confirm compatibility with Dolby Atmos to fully utilize height channels.
| Placement Type | Benefits | Considerations |
|---|---|---|
| Forward on Cabinet | Ideal angle for height channel projection | Confirm stability and accessibility |
| Wall-mounted | Saves space | May hinder height channel effects |
| On a Stand | Better sound projection | Requires floor space |
| Tilted | Enhanced audio immersion | Adjust based on seating arrangement |
| Larger Rooms | Improved sound dynamics | Adjust for room size and acoustics |
Advanced Sound Settings
Adjusting your soundbar’s advanced settings can significantly enhance your audio experience, particularly when it comes to height channels.
Begin by setting the center channel volume to around 50% and increasing the height channel volume to 100%. This adjustment greatly amplifies height effects.
Take advantage of features like “Elevate Up” for upward rotation of speakers or “Elevate Wide” for forward sound projection, allowing you to tailor audio based on your content.
Position your soundbar as far forward as possible to achieve optimal ceiling reflection.
In larger rooms, making forward tilt adjustments can enhance height channel projection.
Regularly test and save your preferred settings for various Dolby modes to further personalize your soundbar experience.