To calibrate your soundbar with a built-in mic, start by placing it in a quiet space and ensuring all speakers are connected properly. Activate calibration mode by holding the HDMI button until “1-CALIBRATION” appears on the display. After that, wait for the countdown and listen for the calibration tones. Assess the acoustics of your room by checking the sound levels produced. Fine-tune the output settings according to your personal preferences and the characteristics of your environment. This calibration process is essential for optimizing the audio quality of your soundbar setup. For further enhancement, explore additional tips on fine-tuning your soundbar experience.
Key Takeaways
- Place the soundbar in a quiet location and ensure all connections are secure before starting the calibration process.
- Activate calibration mode by pressing and holding the HDMI button until “1-CALIBRATION” appears on the soundbar’s display.
- Utilize the built-in microphone to automatically calibrate the soundbar to the acoustics of your room for optimal sound performance.
- Monitor the display for progress during the calibration process, and if calibration fails, check the placement of the soundbar and any obstacles that may interfere with the microphone.
- After calibration, fine-tune the sound output settings to match your personal listening preferences and the specific layout of your room for an enhanced audio experience.
Preparing Your Soundbar for Calibration
To guarantee accurate calibration results for your soundbar, you should first place it in a quiet, non-reverberant location.
Next, ensure all speakers are properly connected and positioned according to the manufacturer’s recommendations.
Ensure all speakers are connected and positioned as per the manufacturer’s guidelines for optimal performance.
The built-in microphone must be unobstructed and positioned at ear level for ideal sound measurement.
Confirm that the soundbar is powered on and set to the correct input mode.
Familiarize yourself with the calibration settings on the remote, as specific button sequences are required.
Activating Calibration Mode
With your soundbar properly prepared for calibration, you can now activate calibration mode to optimize audio settings.
Using your remote control, press and hold the HDMI button until “1-CALIBRATION” appears on the display. You’ll see a countdown from 5 to 1, signaling the start of the calibration tone.
During this process, expect to hear:
- A series of calibration tones that help adjust the soundbar to your environment
- Automatic adjustments based on room acoustics for optimal sound quality
- Display changes confirming progress throughout the calibration
- Final confirmation or error messages to indicate the outcome
Once completed, the display will show “1-DONE.”
If it fails, check the placement of your speakers and repeat the process to ensure the best audio experience from your soundbar.
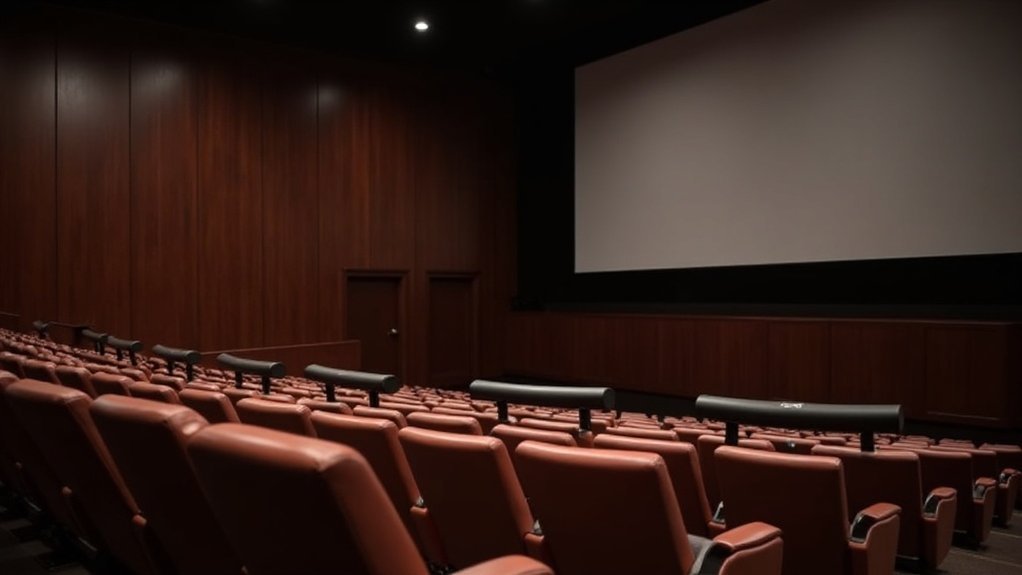
Analyzing Room Acoustics
Understanding your room’s acoustics is crucial when calibrating your soundbar, as sound waves interact with various surfaces, affecting audio clarity and balance.
To achieve optimal sound quality, measure the sound levels throughout your home theater using a calibrated level meter or a smartphone app. It’s important to calibrate considering reflections from walls and absorption by soft furnishings.
Enhance speaker placement and your seating position for a more immersive surround sound experience.
Regularly reassess your room’s acoustics, especially after altering furniture layout, to ensure peak performance and clarity in your soundbar’s audio playback.
Adjusting Sound Output Settings
To optimize your soundbar’s performance, begin by utilizing the built-in microphone for speaker calibration. This feature measures room acoustics and automatically adjusts sound levels to enhance your listening experience.
Fine-tune the sound output settings by experimenting with various sound profiles tailored specifically for soundbars until you discover the one that best complements your environment.
Regularly reassess these settings, particularly after any changes in room layout, to ensure consistent and high-quality audio from your soundbar.
Speaker Calibration Process
Calibrating your soundbar effectively enhances audio performance by tailoring sound output settings to your specific environment. Follow these steps for ideal calibration:
- Ensure you’re in a quiet space to minimize background noise interference.
- Utilize the soundbar’s automatic calibration feature, if it’s available.
- Position the built-in microphone at ear height for accurate sound capture.
- Monitor the calibration process on the soundbar’s display for real-time feedback.
After calibration, test various audio content to verify that the settings enhance your listening experience.
This process ensures your soundbar adapts to your room’s acoustics, providing a customized sound experience tailored to your needs.
Sound Level Adjustment
Adjusting sound output settings is essential for achieving ideal audio performance from your soundbar.
Start by positioning the built-in microphone at ear level in a quiet environment to guarantee accurate sound capture. Use a smartphone app or sound level meter to measure ambient sound and align it with your desired reference levels.
Fine-tune the input sensitivity settings based on your room’s acoustics for optimal responsiveness. Conduct a test calibration by playing a reference tone, such as 1 kHz at 94 dB, and adjust until the measured levels match target settings.
Regularly recalibrate after any changes in room configuration to maintain the best audio quality from your soundbar.
Testing and Fine-Tuning Audio
To achieve ideal audio performance with your soundbar, it’s important to consider speaker positioning techniques and sound level adjustments.
Start by ensuring your soundbar is aligned with your seating area, as this significantly impacts sound dispersion and clarity.
Next, fine-tune the sound levels to match the calibrated reference signal for a distortion-free listening experience.
Proper setup will enhance your overall soundbar experience, allowing you to enjoy your favorite movies and music to the fullest.
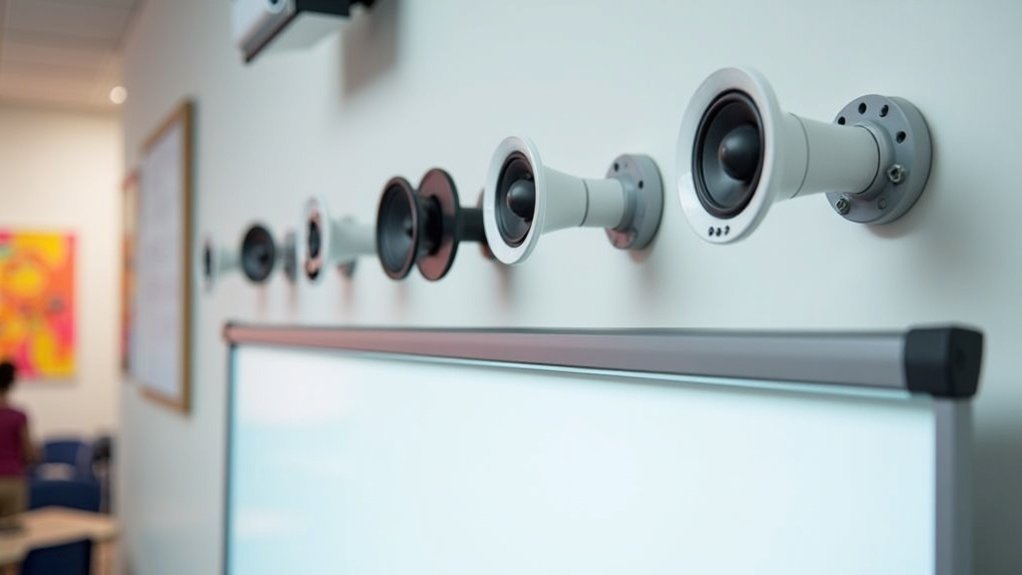
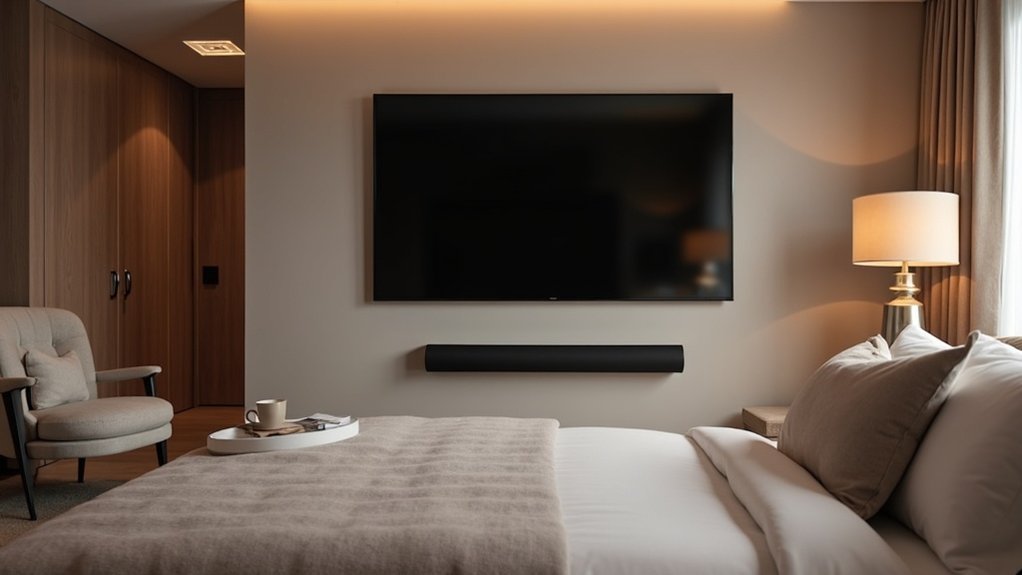
Speaker Positioning Techniques
Achieving ideal sound quality with soundbars hinges on effective positioning techniques. To enhance your audio experience, consider the following:
- Position the soundbar directly below or above the TV, ensuring it’s centered for optimal sound distribution.
- If possible, angle the soundbar slightly towards the listening area to enhance clarity, especially for dialogue.
- Elevate the soundbar to ear level for the best auditory experience, creating a more immersive feel.
- Ensure the distance between the soundbar and listeners is adequate to prevent sound delays and maintain a balanced audio experience.
Additionally, avoid placing the soundbar near reflective surfaces or in corners to prevent distortion and guarantee superior sound quality in your space.
Sound Level Adjustments
Once you’ve positioned your soundbar effectively, the next step involves fine-tuning the audio settings to ensure a balanced sound experience.
Use a sound level meter or a smartphone app to measure the output levels of the soundbar, ensuring they’re uniform. Employ test tones or calibration microphones to identify any discrepancies in the sound output.
Regularly adjust the bass and treble settings according to your preferences and room acoustics to enhance audio clarity. Conduct calibration in a quiet environment to reduce background noise interference.
Finally, periodically revisit these settings to accommodate any changes in room layout or furniture, ensuring your soundbar delivers optimal sound quality consistently.
Maintaining Optimal Sound Quality
While you might enjoy your soundbar’s audio performance, regular calibration is crucial for maintaining ideal sound quality tailored to your room’s acoustics.
To achieve this, follow these guidelines:
To achieve optimal sound quality, follow these essential calibration guidelines tailored to your space.
- Calibrate in a quiet, non-reverberant space to minimize background interference.
- Use a calibrated sound level meter or a reliable smartphone app specifically designed for sound measurement to ensure accuracy.
- Adjust input sensitivity settings if the built-in microphone detects clipping to prevent audio distortion.
- Recalibrate periodically after significant changes to your room layout or furniture to ensure optimal sound performance.
These steps guarantee your soundbar delivers clear, balanced audio that enhances your listening experience.